Lessons learned from my Wetterau Food Services Micro Layout helped me greatly with wiring the Herrin Micro.
The foamcore baseboard makes routing the wires a breeze. I used an old ice pick to poke holes in the support braces to route the wire. I work carefully, installing the wire buses one at a time. The first bus is blue. The second bus will be yellow. The bus wire is #18 stranded wire.

The use of tap splice, spade, and bullet connectors speeds up wiring. I also used a terminal strip I had on hand for the two tail tracks that are located on the right side of the main baseboard. The terminal strip is glued down with CA glue. Jump wires are connected to the terminal strip. The left hand tail track is one section, so jump wires were not needed like they are on the right side tail tracks.

Installation of the second bus wire (yellow).

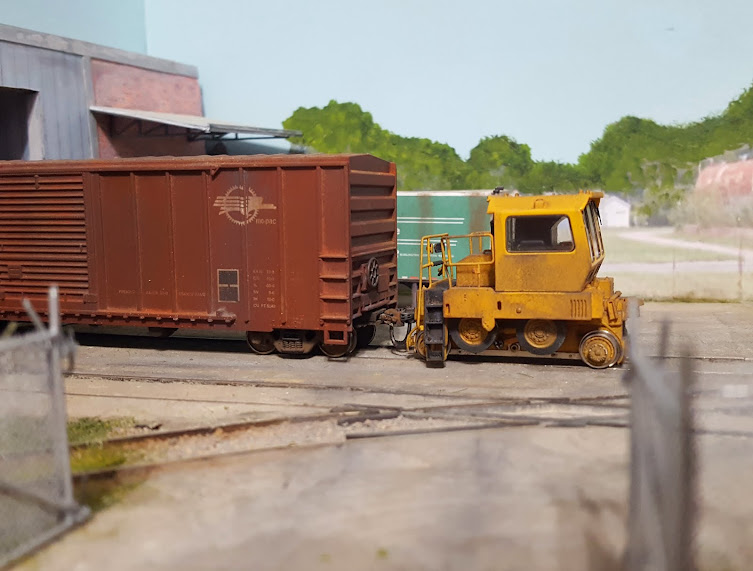
Feeder wires were installed with #20 solid strand wire and rail joiners. I soldered the feed wires to the rail joiners, then installed them while I was laying track (see previous blog post), punching holes into the baseboard with the ice pick and feeding the red wire underneath the baseboard. After track installation, I used tap splice connectors to connect the feeder wires to the bus wires, being careful to keep the north track feeder attached to the north bus (blue), and the south track feeder with the south wire bus (yellow). You can also use appropriately colored feed wires that match your bus wire color too. I didn't due to having several rail joiner/feed wire pieces already on hand.
The feed wires are connected to the bus wires and bullet connectors are attached to the bus ends. These will match the tail track wire connections, alternating between male and female connectors to simplify the connections. Alternating of the male/female bullet connectors means you cannot accidentally cross polarity when connecting the tail tracks to the main baseboard wires.


Up Next: Painting the track.
Tom


