
Foamcore board has its advantages, but it can easily warp if proper bracing is not used. The baseboard is NOT constructed on top of a single sheet of foamcore, but built as a box. The layout thickness is 1 1/2 inches.
I use 2 sheets of foamcore from Elmer's. I prefer the black paper over the white. The black paper seems to be more durable than the white. Well, at least for me it does. Using black can be difficult when using pencil marks. I have no problem seeing these marks, but if you use black foamcore, you may want to use a white colored pencil.


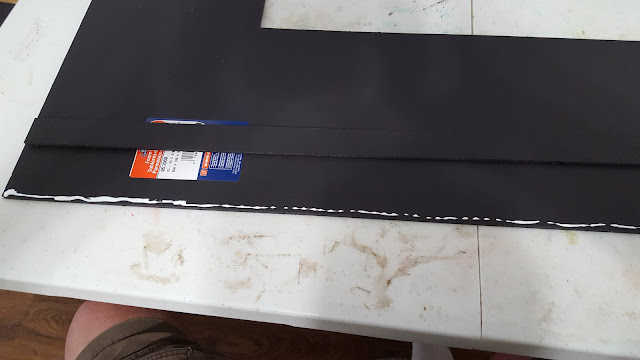
I measure out the baseboard sides and braces using the dimensions on the Sketch Up diagrams in my previous post. I will be using a cutter called the "Master Airscrew Balsa Stripper" by Windsor Propeller Company. I purchased mine from a local hobby store, but Micro Mark has them as well. I use a standard #11 blade. I have tried bigger blades, but the #11 works the best. I used a smaller cutting board due to my large board being in storage. A larger board works better. I use Formula 560 Canopy Glue for layout assembly. Any waterproof PVA will work. I am not a fan of using hot glue for foamcore baseboard construction. I have had glue joint failures in the past with hot glue.


I tack the track in place on the baseboard with push pins, and trace around the track (not pictured).
Next, I remove the track and push pins, then I use T-pins to assemble the baseboard edges. I use them liberally throughout the assembly process to make sure I have good contact with the glued surfaces.


I continue this process for the end braces and the inner support braces following my measurements from the Sketch Up diagrams (end brace assembly not pictured).
I also constructed the clips that will connect the tail track to the main baseboard from foamcore.

The completed baseboard box with foamcore clips attached.

The tail track boxes are constructed the same way as the main baseboard. The following photos show the underside of the baseboard and the placement of the clips and the tail track sections.


 |
| additional support bracing will be added before wiring |
The completed baseboard with tail tracks connected.

Up Next: Track Installation
Tom


No comments:
Post a Comment